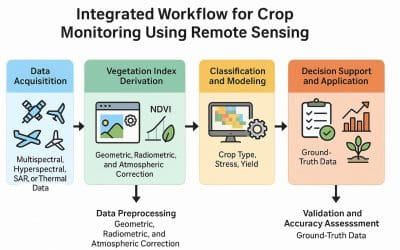
ModelBuilder in ArcGIS Pro is a visual programming language designed to create and manage geoprocessing workflows. It allows users to automate spatial analysis and data management tasks by chaining together sequences of geoprocessing tools, where the output of one tool becomes the input for another. This approach streamlines complex processes and also provides a clear, visual representation of the workflow, enhancing both efficiency and understanding.
Steps to automate workflows
Plan the workflow: Before building a model, clearly define its purpose by identifying the necessary data inputs, selecting appropriate geoprocessing tools, and determining the desired outputs. For simple workflows, mental planning may suffice, but complex processes benefit from sketches or flowcharts to visualize each step.

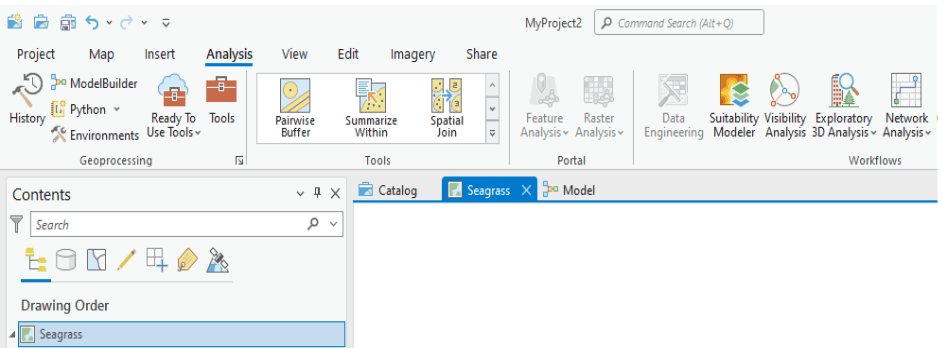
Create the Model Shell: In ArcGIS Pro, models are stored within toolboxes. Upon creating a new project, a default toolbox is generated. To start a model, open the ModelBuilder window from the Analysis tab or by right-clicking the toolbox in the Catalog pane and selecting ‘New > Model.’ Set essential properties, such as relative path names, to ensure the model functions correctly across different data locations.
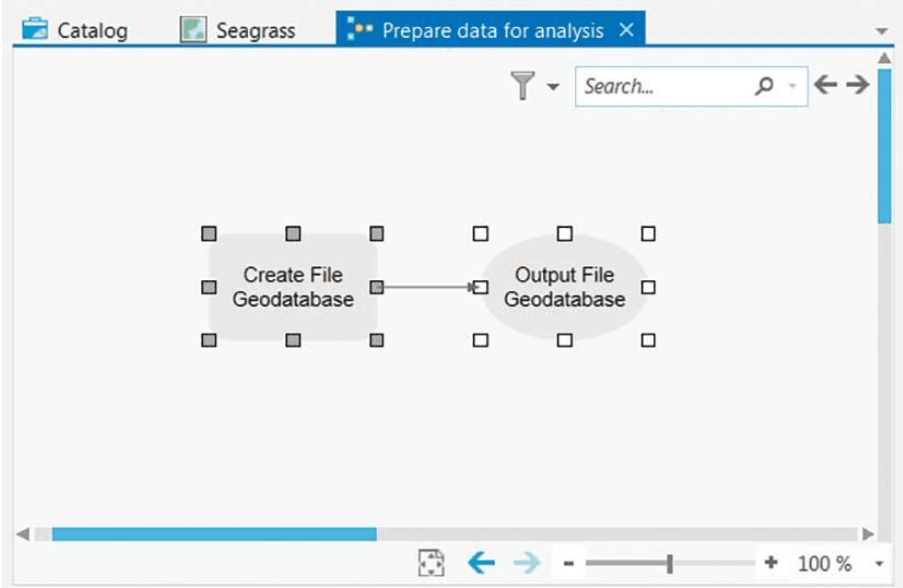
Add Tools and Set Parameters: Drag and drop the required geoprocessing tools into the ModelBuilder canvas. Connect these tools by defining the flow of data between them, specifying input datasets and setting parameters for each tool. This configuration establishes the sequence of operations the model will execute.
Validate the Model: Before execution, validate the model to ensure all components are correctly configured. Validation checks for issues such as missing inputs or incorrect parameter settings, allowing you to address potential problems that could cause the model to fail during execution.
Run the Model: Execute the model by clicking the ‘Run’ button within the ModelBuilder interface. As the model runs, each process is highlighted to indicate its progress. Successful completion is typically shown by a change in the process’s appearance, such as a drop shadow effect, confirming that each step has been executed correctly.
Run It Again (Optional): One of the advantages of ModelBuilder is the ability to reuse models. After initial execution, you can run the model again with different inputs or parameters to perform similar analyses without rebuilding the workflow from scratch, enhancing efficiency in repetitive tasks.