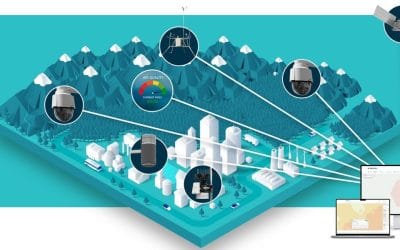
Geographic Information System (GIS) software has revolutionized the way we work with spatial data. Among the most popular tools in this field is QGIS, an open-source platform that offers powerful GIS tools for beginners and experts alike. In this guide, we’ll walk you through the basics of QGIS to get you started on your geospatial journey.
What is QGIS?
QGIS (Quantum GIS) is a free, open-source GIS software that allows users to create, edit, visualize, analyze, and publish geospatial information. Whether you’re working on mapping, spatial analysis, or geoprocessing, QGIS provides robust tools and flexibility to meet your needs.
Step 1: Installing QGIS
The first step to getting started is downloading and installing QGIS.
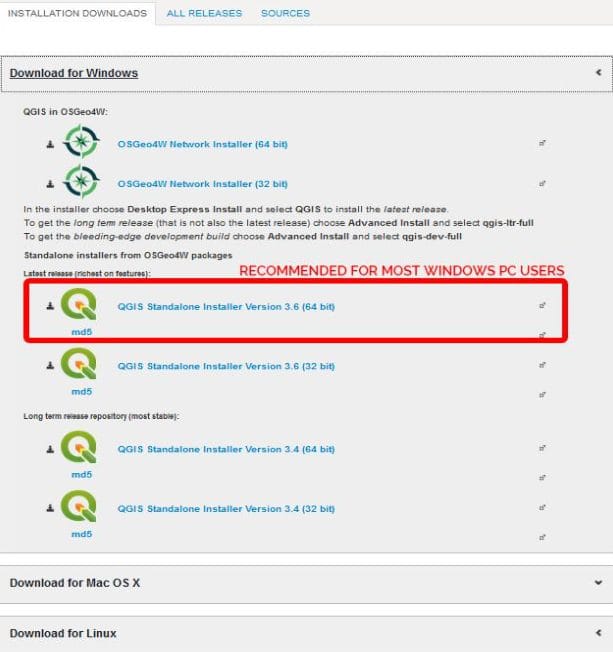
- Visit the QGIS Website:
Go to the official QGIS website. https://qgis.org/en/site/ and click on the large green “Download” - Choose Your Operating System:
Ensure your system is up to date and select the installer that corresponds to your operating system (Windows, macOS, or Linux). - Install the Software:
Follow the instructions provided in the installation wizard to set up QGIS on your system.

Step 2: Navigating the QGIS Interface
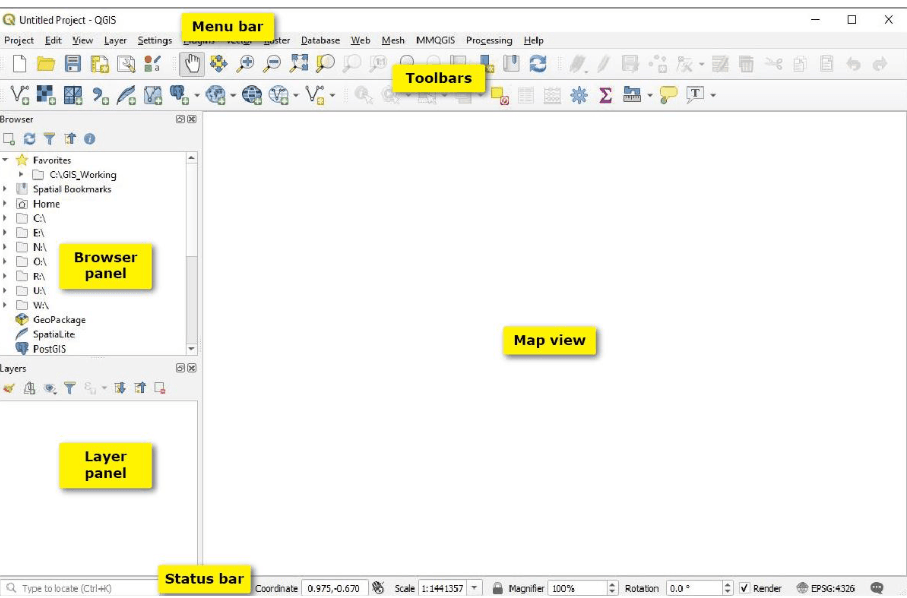
Once QGIS is installed, open the software. You’ll see a user-friendly interface divided into the following key components:
- Menu Bar: Where you access various tools and features.
- Toolbar: Quick access to frequently used tools like zoom, pan, or measure.
- Layers Panel: Displays the list of all layers you’ve added to your map.
- Map Canvas: The main area where your spatial data is displayed and analyzed.
Step 3: Adding Data
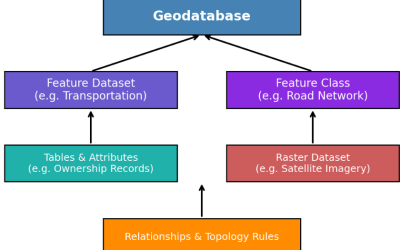
To start working in QGIS, you need to add spatial data. Here’s how:
- Load Vector Data (Shapefiles):
- Click on Layer > Add Layer > Add Vector Layer.
- Browse to your shapefile or GeoJSON file and load it into the project.
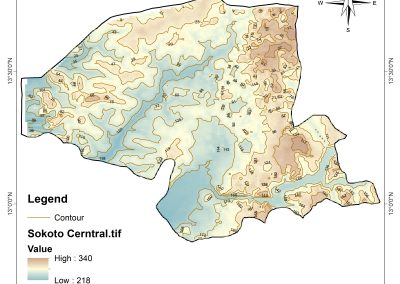
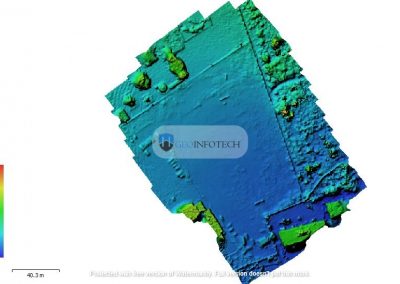
- Load Raster Data (Imagery):
- Click on Layer > Add Layer > Add Raster Layer.
- Select your raster file (e.g., satellite imagery).
- Add OpenStreetMap:
- Install the OpenLayers plugin from the Plugin Manager.
- Use it to add OpenStreetMap or other base maps.
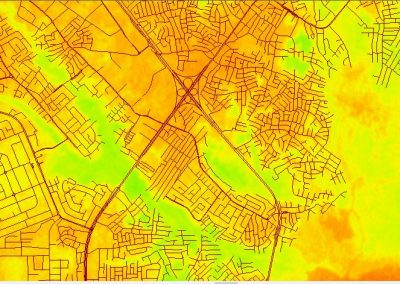
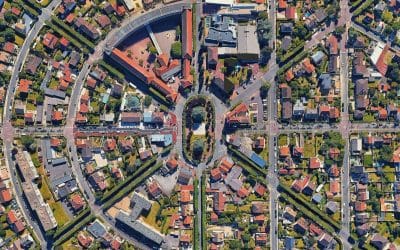
Step 4: Styling Your Map
QGIS allows you to customize your map to make it visually appealing:
- Change Layer Symbology:
- Right-click on a layer in the Layers Panel and select Properties.
- Navigate to the Symbology tab to modify colors, symbols, and styles.
- Apply Labels:
- Go to the Labels tab and enable labeling for your features.
- Customize font size, color, and placement to make your map readable.
Step 5: Performing Basic Analysis
QGIS is not just for visualization – it’s a powerful tool for spatial analysis. Here are a few beginner-friendly operations:
- Buffer Analysis:
Create a buffer zone around features such as roads or rivers.- Go to Vector > Geoprocessing Tools > Buffer.
- Overlay Analysis:
Combine two layers using tools like Union, Intersect, or Difference. - Measure Distance:
Use the Measure Tool from the toolbar to calculate distances between points.
Step 6: Exporting Your Map
Once you’re satisfied with your map, you can export it:
- Print Layout:
- Go to Project > New Print Layout to create a map layout.
- Add elements like the title, legend, scale bar, and north arrow.
- Export as Image or PDF:
- In the Print Layout, click on Layout > Export as Image or Export as PDF.
Step 7: Learning Resources
The best way to improve your QGIS skills is through practice and learning. Here are a few resources to help you:
- QGIS Documentation: Official QGIS User Guide.
- YouTube Tutorials: Search for beginner-friendly QGIS tutorials.
- Online Courses: Platforms like Udemy and Coursera offer GIS courses tailored to QGIS.
QGIS is a powerful tool that opens up endless possibilities for GIS professionals, students, and enthusiasts. By following this guide, you’ve taken the first step toward mastering QGIS. Keep practicing, and soon you’ll be creating professional-grade maps and performing complex spatial analysis with ease.
“Have you tried using QGIS? Share your thoughts and projects in the comments below!”