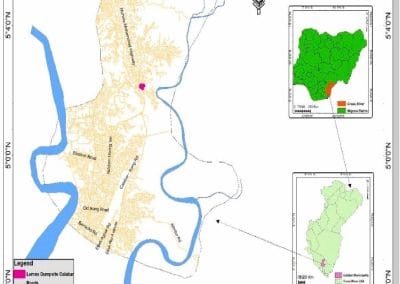
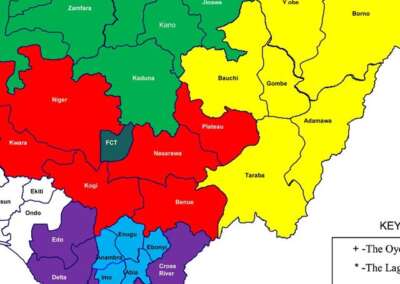
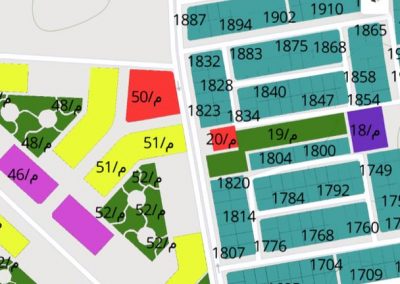
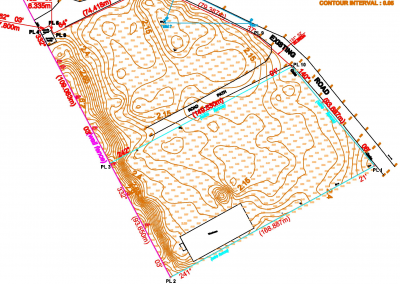
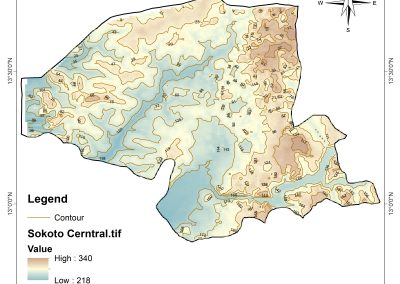
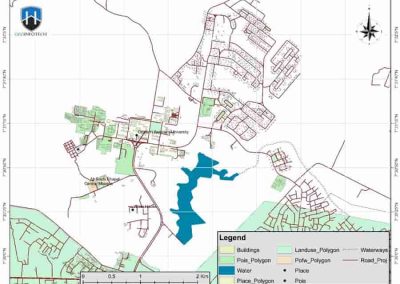
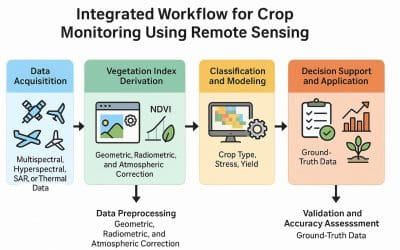
Many valuable maps and spatial records still exist as scanned images. Examples are historical plans, paper-based surveys, architectural layouts e.t.c. While informative, these images are not yet usable within a GIS environment until they’re spatially referenced and digitized.
In this fourth part of our QGIS blog series, we’ll introduce two essential processes:
- Georeferencing: aligning a scanned image with real-world coordinates
- Digitizing: converting visible features on that image into structured vector data
What is Georeferencing?
Georeferencing is the process of assigning real-world coordinates to a scanned map or image, making it usable in GIS environments. It aligns the image with known map projections or co-ordinate systems. Imagine having a scanned paper map of a neighbourhood. QGIS allows you to “stretch” that map so it fits perfectly over your real-world basemap.
How to Georeference in QGIS
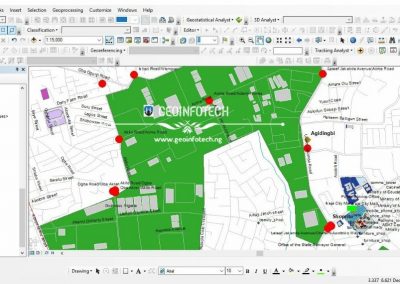
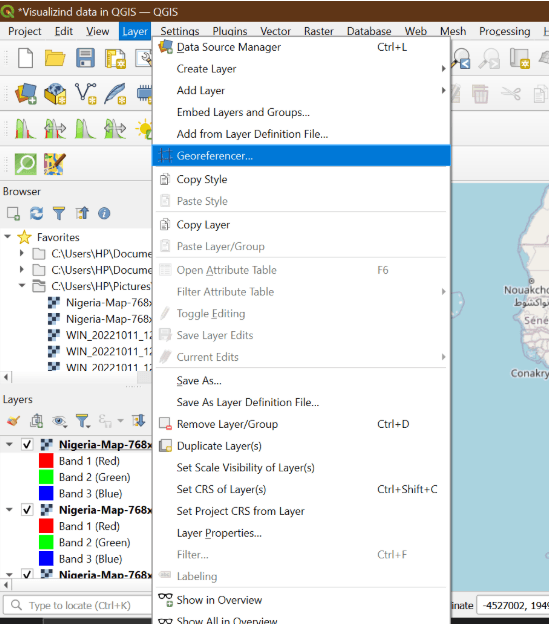
Step 1: Go to layer ribbon > Georeferencer
Step 2: Load Your Image: Click “Open raster” and choose your scanned map/image
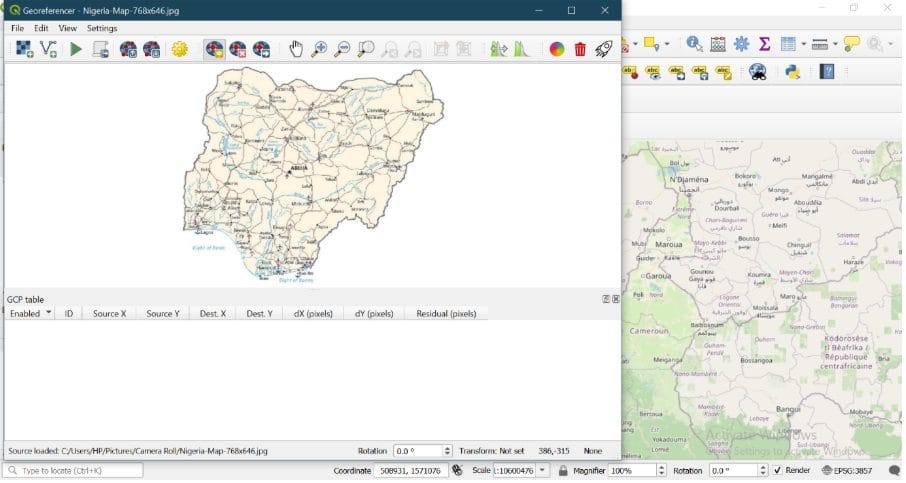
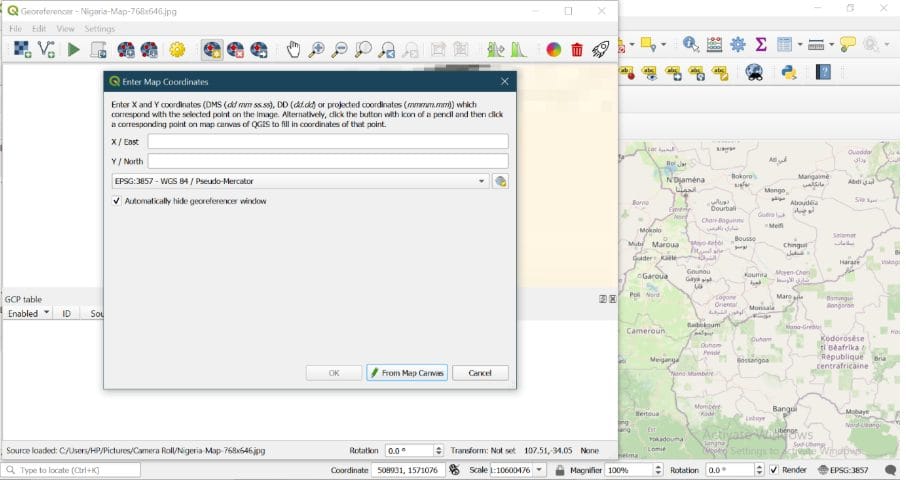
Step 3: Add Ground Control Points (GCPs)
- Use Add Point tool to select a location on the image
- Then choose the corresponding real-world location on your basemap (or input coordinates)
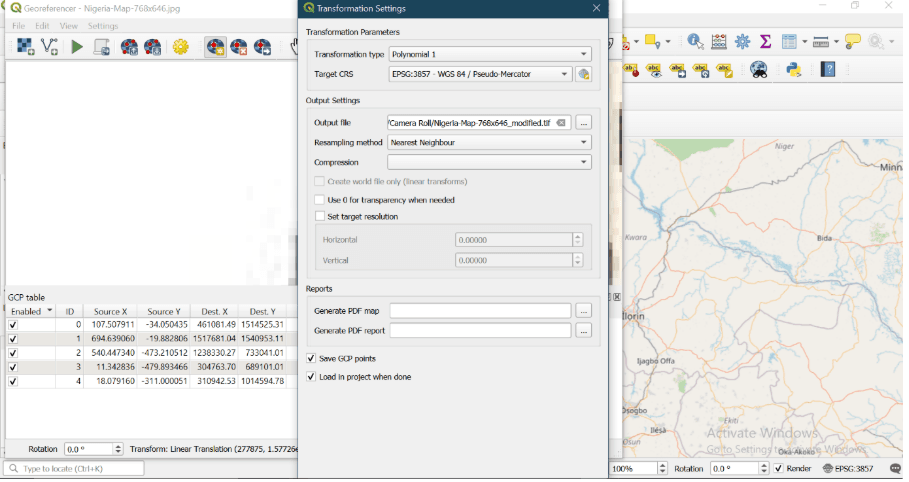
Step 4: Set Transformation Settings
- Click the gear icon
- Set:
- Transformation Type: usually Polynomial 1
- Target SRS: Choose a CRS like EPSG: 3857 (WGS 84) or EPSG: 32632 (UTM)
- Output raster path
Step 5: Start Georeferencing: Click the Play (Start Georeferencing) button
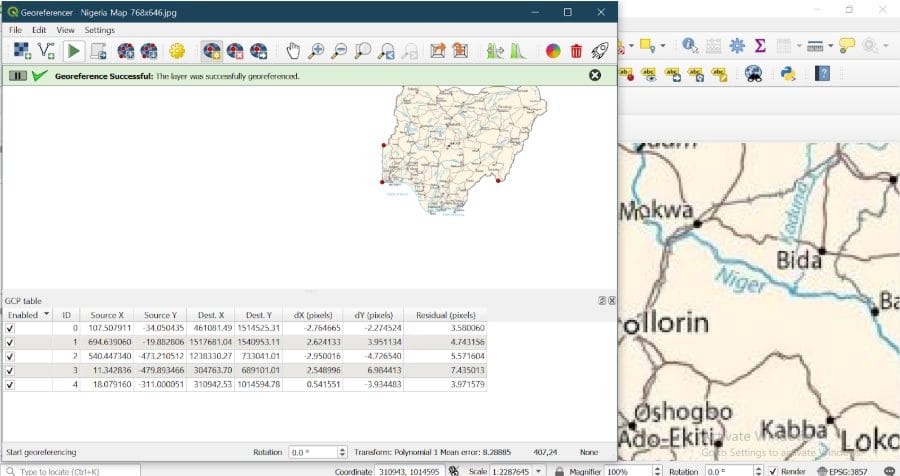
Step 6: Image has been successfully georeferenced

What is Digitizing?
Digitizing involves manually tracing features (like roads or buildings) from a map or image into a new vector layer.
How to Digitize in QGIS
Let’s say you want to trace boundary lines from your georeferenced map.
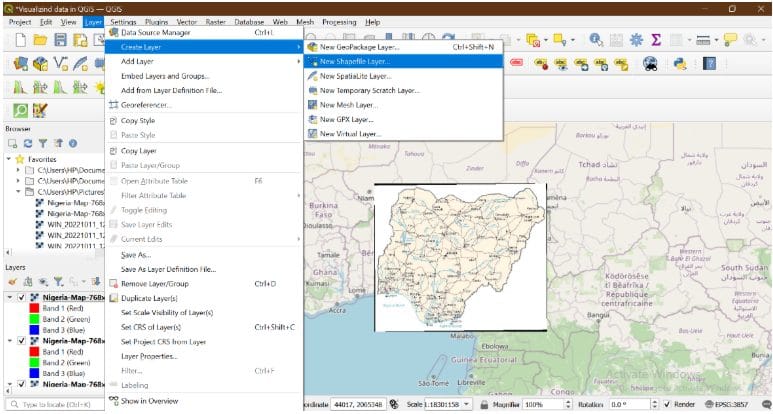
Step 1: Create a New Vector Layer
Go to Layer > Create Layer > New Shapefile Layer > Choose geometry type: Point, Line, or Polygon > Add attribute fields (e.g., Name, Type) > Click OK and save the file
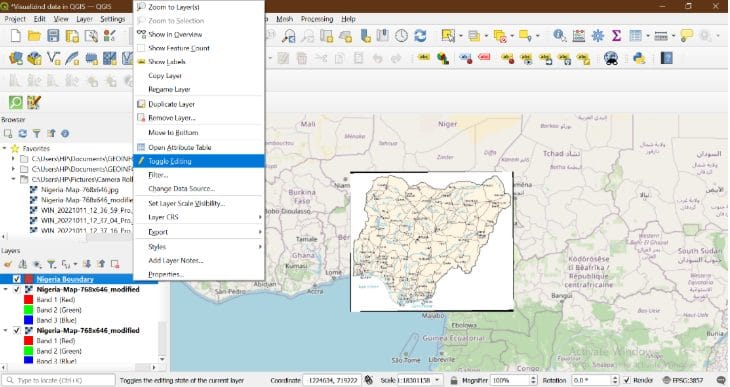
Step 2: Start Editing
Right-click your new layer → Toggle Editing
Step 3: Save and Stop Editing: Click Save Edits > Then click Toggle Editing again to stop